How to Paint a Cabinet: A Simple Step-by-Step Guide
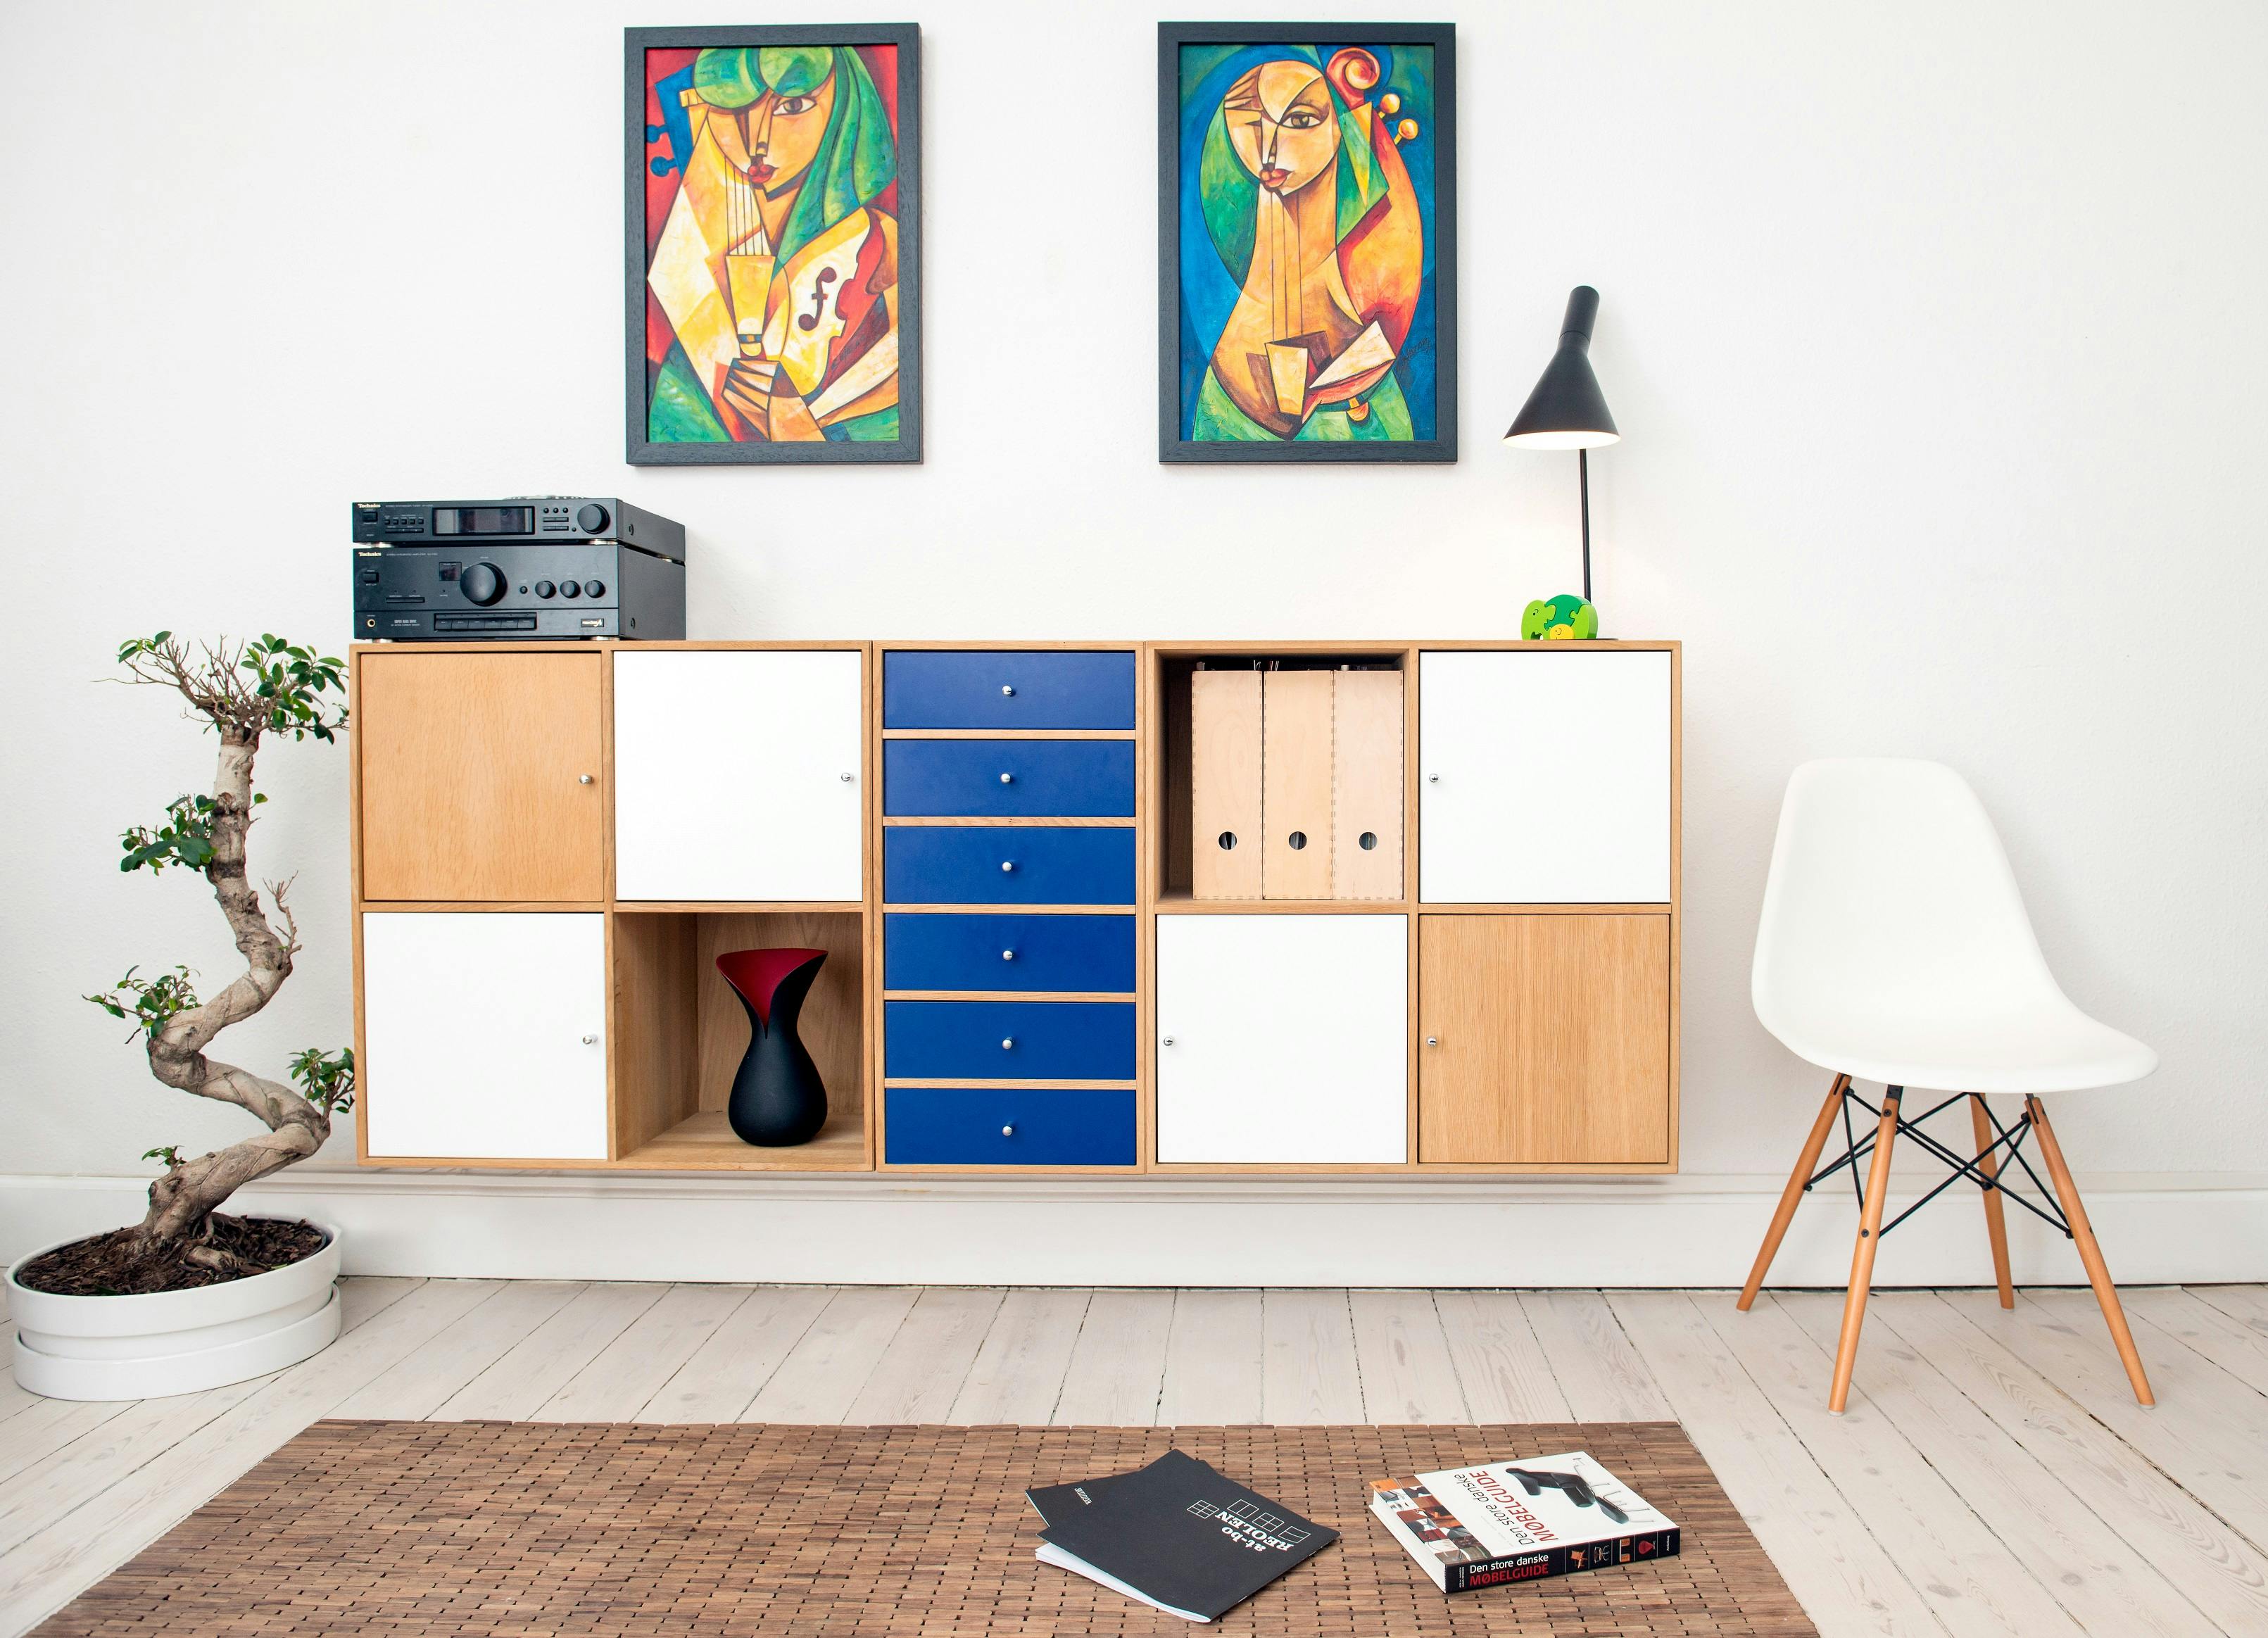
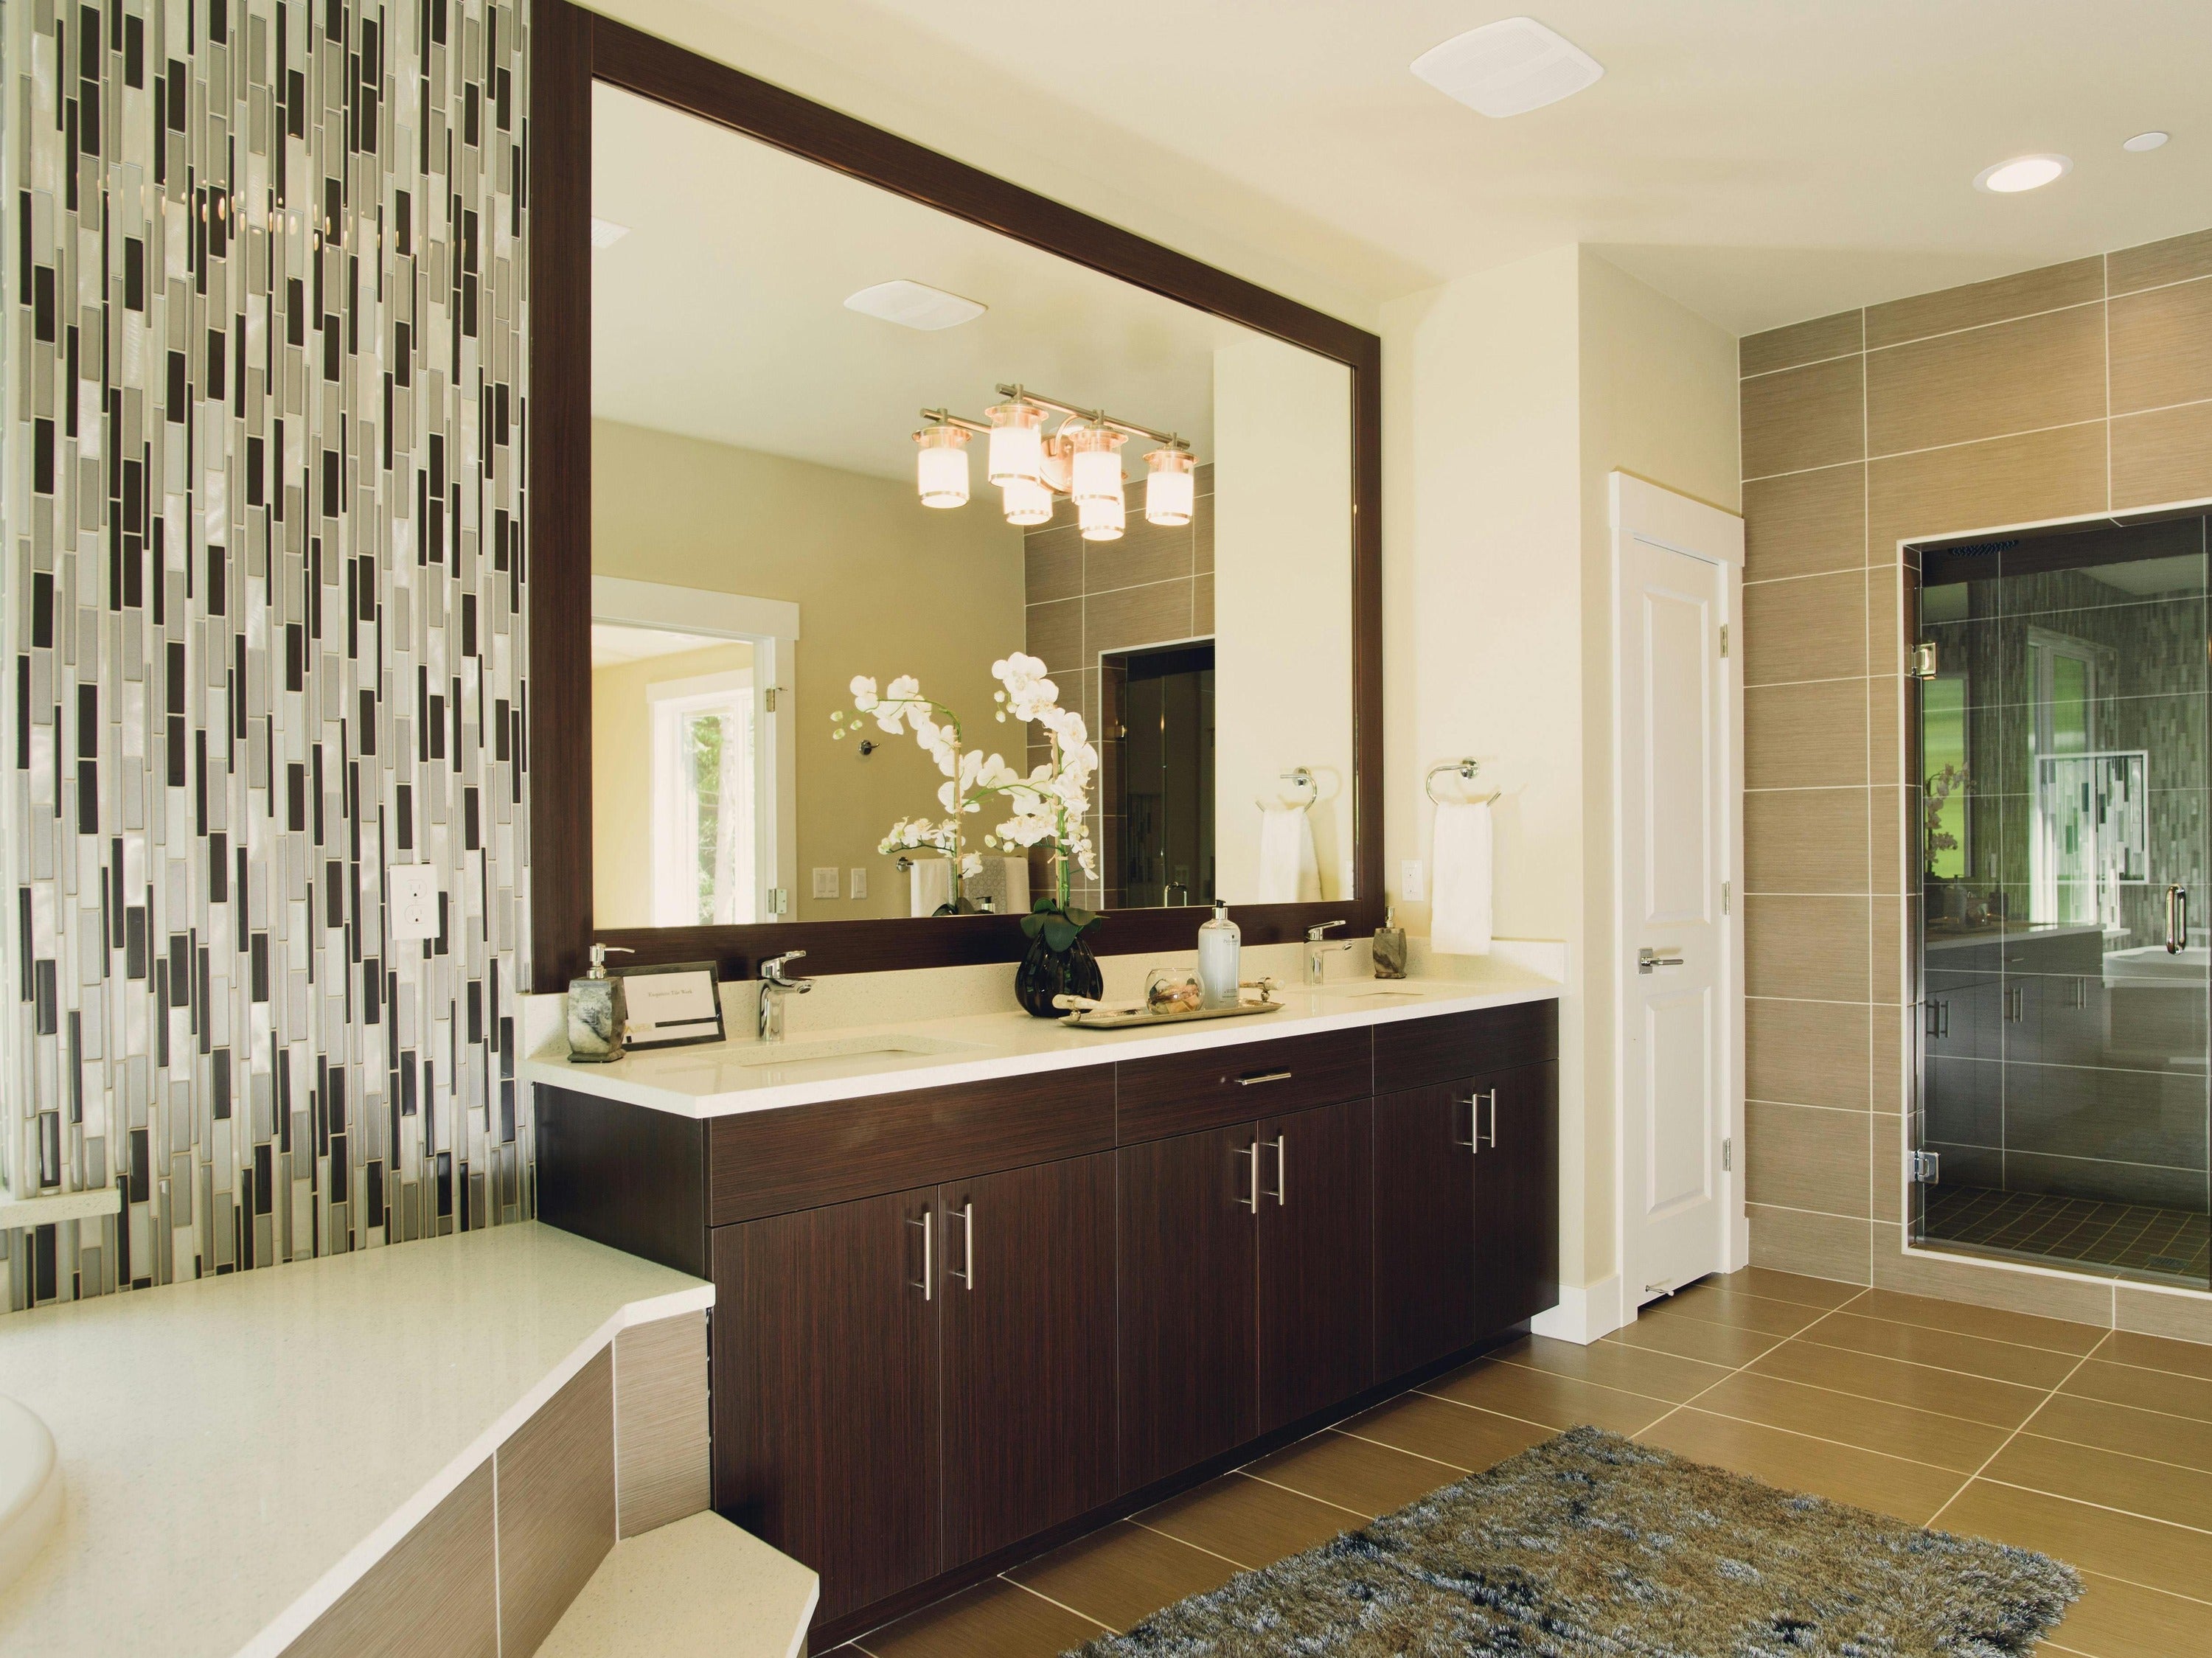
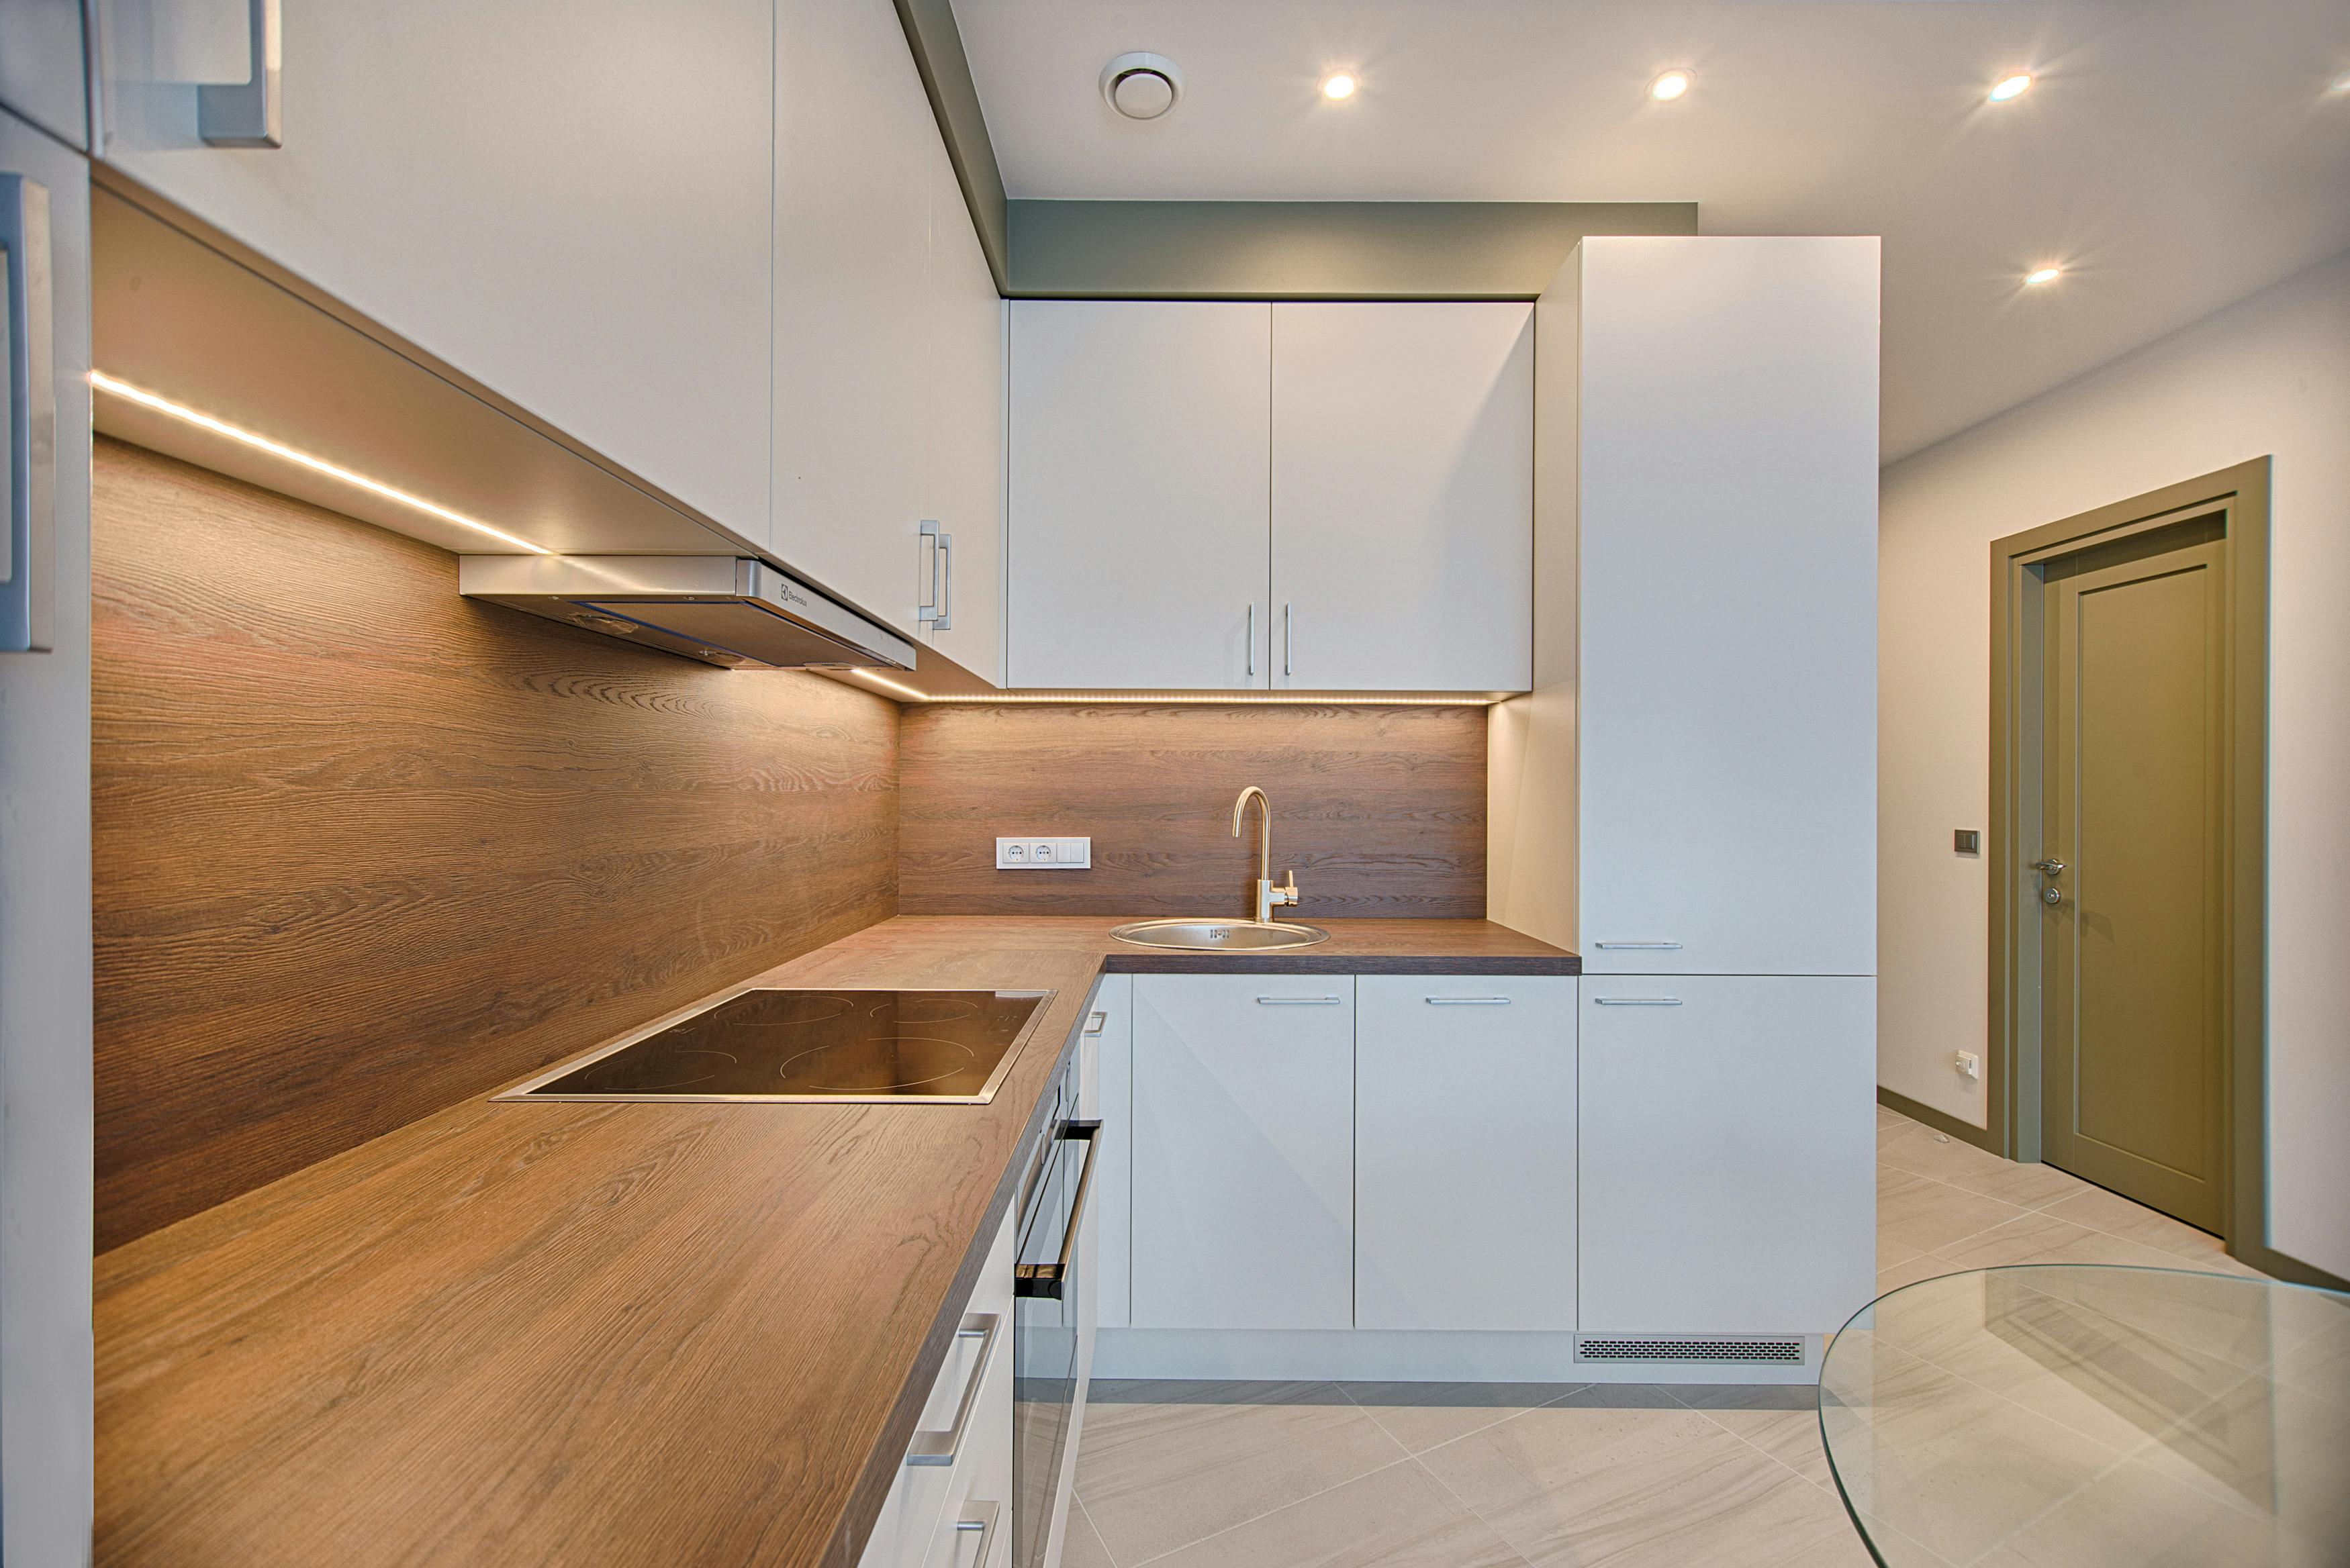
If there’s one thing I’ve learned from decorating my home, it’s that a fresh coat of paint can completely change the look and feel of any space. Whether it’s revamping old kitchen cabinets or giving a tired bathroom vanity a new life, painting a cabinet is one of the easiest and most affordable ways to update a room.
After deciding to tackle this project myself, I was amazed by how transformative it was—and how satisfying it felt to look at the finished result. So, if you're thinking about painting your cabinets, whether for a kitchen makeover or just to add some personality to a piece of furniture, I’ve got you covered. Here’s my step-by-step guide on how to paint a cabinet, with all the tips and tricks I learned along the way.
Why Paint Cabinets?
Before diving into the process, let’s talk about why painting cabinets is such a great DIY project. First and foremost, it’s a budget-friendly way to update your furniture or cabinetry. Rather than spending hundreds or even thousands on replacing cabinets, painting allows you to breathe new life into your existing pieces without breaking the bank.
Additionally, painting cabinets is an excellent way to personalize your space. Whether you’re aiming for a sleek, modern look or a more rustic, distressed finish, the color and finish choices are endless. Plus, if you’re someone who loves changing things up regularly, painting cabinets is a quick and effective way to refresh a room without a full renovation.

Tools and Materials You’ll Need
Before I started painting my cabinet, I made sure I had everything I needed. Here's a list of tools and materials that are essential for a smooth and successful cabinet painting project:
- Cabinet paint: Choose a paint that’s designed for cabinets or furniture. I opted for a high-quality, durable enamel paint for a smooth, hard finish.
- Primer: A bonding primer is essential, especially if you’re painting over wood or laminate surfaces. It helps the paint adhere better and creates a more even finish.
- Sandpaper: I used a medium-grit (150-220) sandpaper to smooth the surface and remove any previous paint or varnish.
- Paintbrushes: A good quality paintbrush is crucial for getting those clean, sharp lines. A 2.5” angled brush is ideal for cabinet painting.
- Foam roller: For larger, flat surfaces, a foam roller helps achieve a smooth finish without brush marks.
- Drop cloths: Protect your floor and surrounding surfaces by covering them with a drop cloth.
- Painter’s tape: To protect areas you don’t want painted, like the edges or hardware.
- Cabinet knobs and handles: Don’t forget to update your hardware! A new set of stylish cabinet handles can dramatically change the look of your cabinets. For a timeless, elegant touch, I recommend the solid brass cabinet handles from Luxhandles. These handles are not only durable but also add a touch of luxury to any space. Whether you prefer a sleek modern look or a more traditional style, Luxhandles offers a variety of designs that can complement any painted cabinet finish. Their solid brass construction ensures a long-lasting, high-quality finish that stands up to daily use while enhancing the overall look of your cabinets.
Step 1: Remove the Cabinet Doors and Hardware
The first thing I did was remove the cabinet doors and drawers. It’s tempting to paint everything in place, but trust me, taking the doors off will make the process so much easier and give you a smoother finish. I also removed the drawer knobs and handles to avoid any accidental paint splatters.
Pro tip: Label the cabinet doors and drawers so you know which one goes where when reassembling them later.

Step 2: Clean the Cabinets
Cleaning is a crucial step before painting anything. I started by wiping down the cabinet surfaces with a damp cloth to remove dust, dirt, and grease. If the cabinets have any sticky residue (especially common in kitchen cabinets), I used a degreaser or a mixture of water and vinegar. This ensures the paint will adhere properly and gives a more durable finish.
Step 3: Sand the Surfaces
Once the cabinets were clean and dry, I lightly sanded them with medium-grit sandpaper. Sanding the cabinets not only smoothes out any imperfections, but it also helps the primer and paint stick better. I made sure to sand in the direction of the wood grain, and after sanding, I wiped everything down with a clean cloth to remove any dust.
If your cabinets are made of laminate or have a glossy finish, a little extra sanding will help the paint stick. Don’t skip this step—it can make or break the final result.
Step 4: Apply the Primer
Now comes the fun part: priming! I used a high-quality bonding primer, which is essential for creating a smooth surface for the paint. I applied the primer using a foam roller for the flat surfaces and an angled brush for the edges and corners. I made sure to apply a thin, even coat, and I let the primer dry completely before moving on to the next step. This usually takes a few hours, but I recommend waiting overnight if you have the time.
The primer is crucial because it helps the paint bond better and prevents any stains or tannins from seeping through the top coat. If you’re painting over a dark color, applying a second coat of primer may be necessary.
Step 5: Sand Again (Lightly)
Once the primer was dry, I gave the cabinets another light sanding with fine-grit sandpaper. This smooths out any rough spots and helps the paint go on evenly. After sanding, I wiped everything down again to remove any dust.

Step 6: Apply the Paint
Now for the fun part: painting! I used a high-quality enamel cabinet paint, which gives a hard, durable finish. I started by painting the edges and corners with an angled brush before moving on to the flat surfaces with a foam roller. I applied the paint in thin, even coats, making sure to let each coat dry completely before adding another.
For the best results, I applied at least two coats of paint. If the color didn’t cover fully with the first coat, I added a third coat. Each layer made the finish look smoother and more polished. I also made sure to check for any drips or brush marks, smoothing them out with the brush or roller.
Step 7: Reassemble the Cabinets
Once the paint had dried and cured (about 24 hours), it was time to reassemble everything. I carefully reattached the doors and drawers, making sure they aligned properly. The next step was to install the new cabinet hardware. I chose sleek, modern drawer knobs that complemented the color scheme and style I was going for. It’s amazing how something as simple as updating the knobs can completely change the look of the cabinets!
Step 8: Final Touches
I stepped back to admire my work, and I was thrilled with the transformation. The painted cabinets added a whole new dimension to the room. To complete the look, I added a few personal touches to the room—some decorative items on the countertops, new lighting fixtures, and a fresh coat of paint on the walls.
Final Thoughts
Painting cabinets is one of those DIY projects that can seem daunting at first, but with the right preparation and patience, the results are definitely worth it. Not only did my cabinets get a whole new lease on life, but I also gained a sense of pride in doing it myself. Whether you’re updating kitchen cabinets, bathroom vanities, or even an old dresser, painting can be a simple yet transformative way to refresh any space.
And don’t forget: the little details matter. Updating your drawer knobs can make a huge difference in the final look. Small accessories like these are the cherry on top of your hard work, adding that extra touch of personality and style.
So, if you’re considering a cabinet painting project, I highly recommend giving it a try. With the right tools, techniques, and a little creativity, you can make your cabinets look brand new—and in the process, create a space that truly feels like home.


