A Comprehensive Guide to Installing Handles, Knobs, and Pulls
When it comes to home improvement, updating or installing handles, knobs, and pulls can make a significant impact on the look and functionality of your cabinets and drawers. Here’s a straightforward guide to help you through the installation process for these essential hardware pieces.
Tools and Materials You'll Need
- Screwdriver (Phillips and flathead)
- Drill and drill bits
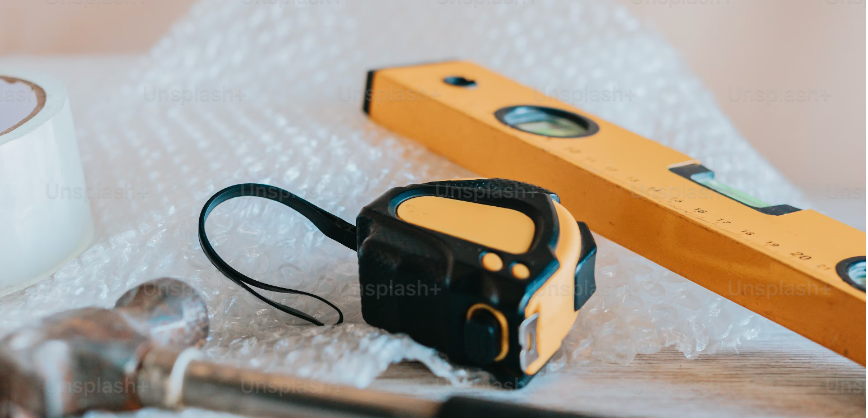
- Measuring tape
- Pencil
- Level
- Handles, knobs, or pulls
- Screws (usually provided with the hardware)
- Backing plate (if required)
1. Installing Cabinet Handles
Step 1: Measure and Mark
- Determine Placement: Decide where you want to install the handles on your cabinets. Typically, handles are placed 2.5 to 3 inches from the edge of the cabinet door.
- Measure: Use a measuring tape to mark the drilling points on the cabinet. Ensure that the marks are level and aligned.
Step 2: Drill Holes
- Drill Holes: Using a drill bit that matches the size of the screws provided with the handles, drill holes at the marked points. Be careful to drill straight to avoid misalignment.
Step 3: Attach the Handles
- Position the Handle: Place the handle over the drilled holes.
- Insert Screws: Insert the screws through the handle and into the drilled holes. Tighten them with a screwdriver until the handle is secure, but be careful not to overtighten.
2. Installing Cabinet Knobs
Step 1: Measure and Mark
- Determine Placement: Knobs are usually installed in the centre of the cabinet door. Measure and mark the spot where the knob will be placed.
- Mark Drilling Point: Ensure that the marks are level and in the correct position for a uniform look.
Step 2: Drill Hole
- Drill: Use a drill bit that matches the size of the knob’s mounting screw. Drill a hole at the marked point.
Step 3: Attach the Knob
- Position the Knob: Place the knob over the drilled hole.
- Screw in the Knob: Insert the mounting screw through the knob and into the hole. Tighten with a screwdriver until the knob is secure.
3. Installing Cabinet Pulls
Step 1: Measure and Mark
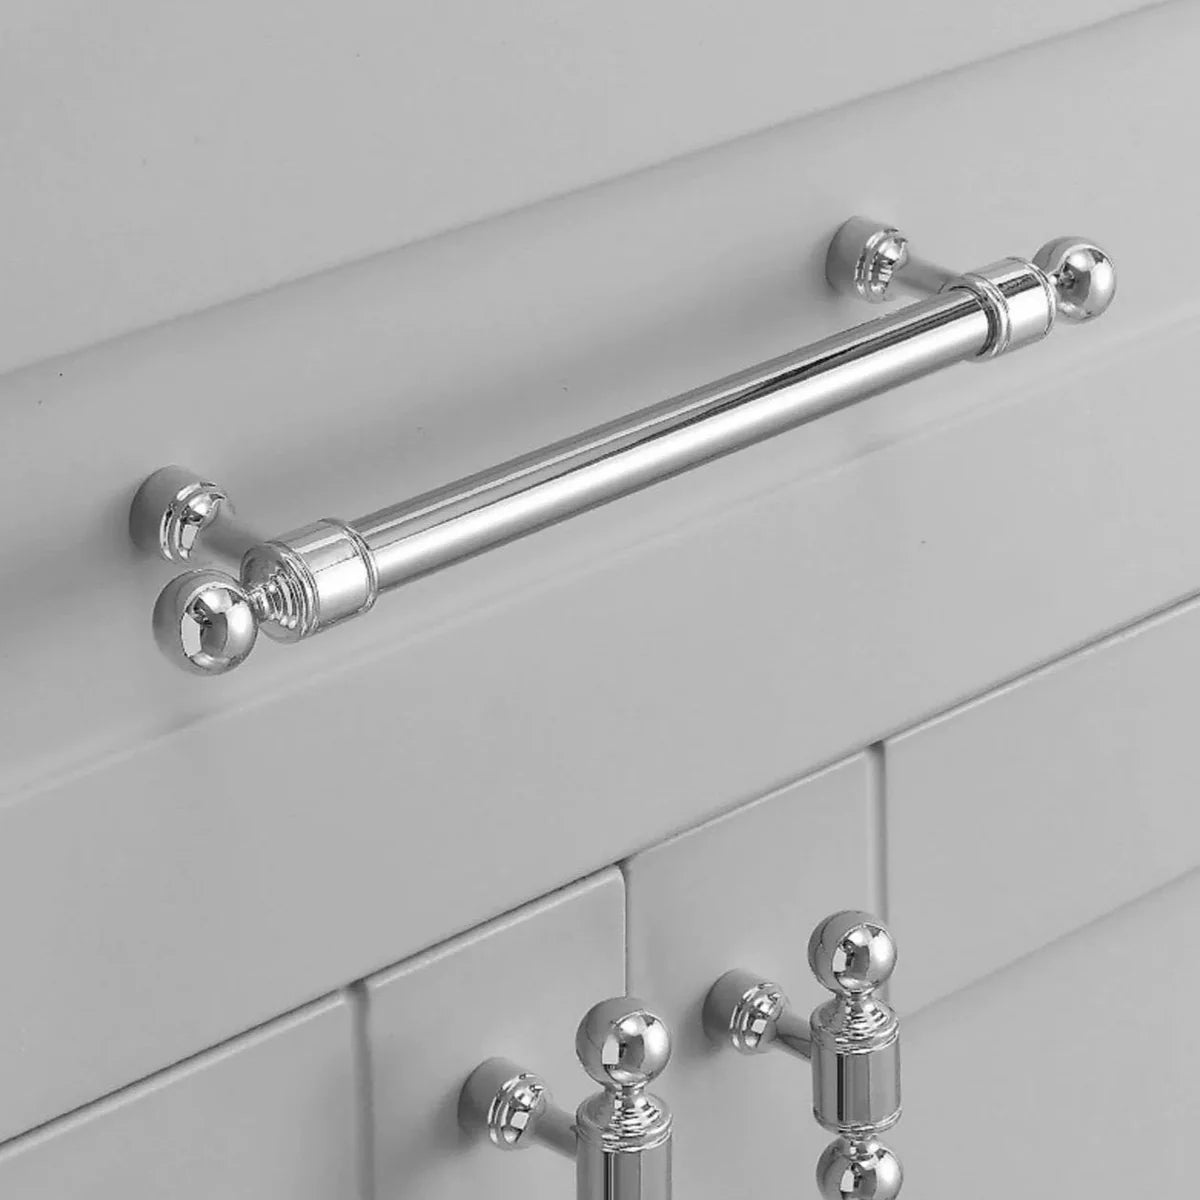
- Determine Placement: For cabinet pulls, measure the distance between the mounting holes. Mark these points on the cabinet or drawer face.
- Ensure Alignment: Use a level to ensure that your marks are perfectly aligned.
Step 2: Drill Holes
- Drill Holes: Using the correct size drill bit, drill holes at the marked points.
Step 3: Attach the Pulls
- Position the Pull: Align the pull with the drilled holes.
- Insert Screws: Insert the screws through the pull and into the holes. Tighten with a screwdriver, making sure not to overtighten.
Tips for a Smooth Installation
- Check Alignment: Always use a level to ensure that handles, knobs, and pulls are installed straight.
- Use a Template: For multiple installations, consider using a template to ensure consistent placement.
- Pre-drill Holes: To avoid splitting wood, pre-drill holes for screws.
- Choose the Right Hardware: Ensure that the screws provided match the thickness of your cabinet doors or drawers.
By following these steps, you can ensure a professional-looking installation of handles, knobs, and pulls that will enhance the functionality and appearance of your cabinets and drawers. Enjoy your refreshed space!


