
Article: How to Clean Greasy Kitchen Cabinet Handles
How to Clean Greasy Kitchen Cabinet Handles
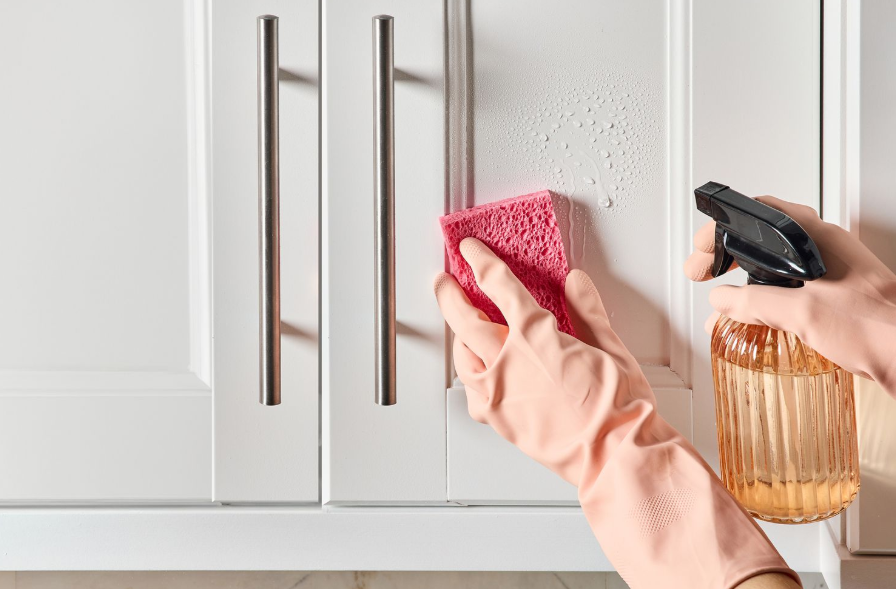
Nothing ruins a pristine kitchen faster than reaching for a cabinet pull and getting a handful of sticky residue. Over time, airborne cooking grease mixes with dust and hand oils to form a stubborn, glue-like film across your hardware.
While your first instinct might be to grab a heavy-duty industrial degreaser or a steel scrub pad, stop right there. Harsh chemicals and abrasive tools can permanently strip protective coatings, scratch steel, or ruin beautiful natural patinas.
Bringing your hardware back to life is an easy, budget-friendly way to refresh your entire kitchen. Here is how to clean your kitchen cabinet handles effectively without damaging the metal underneath.

The Universal Deep-Cleaning Method
Before looking at specific metal types, you should start with the safest, most effective baseline cleaning method. This framework removes 90% of standard kitchen buildup without risking any damage to your hardware.
1. Remove the Hardware
Do not try to clean your handles while they are still attached to the doors. Liquid cleaners can easily drip onto your cabinets, causing wood to warp, laminate to peel, or paint to strip. Grab a screwdriver, remove the handles, and drop the screws into a small bowl so they do not roll away.
2. The Concentrated Soak
Fill your sink or a small basin with warm water and add a few generous squirts of a quality grease-cutting dish soap. Submerge your handles completely and let them sit for 10 to 15 minutes. This soak breaks down the molecular bonds of the sticky grease film safely.
3. Detail Scrubbing
Take an extra-soft toothbrush to clean the handles gently. The soft bristles will clear away loosened grime without leaving micro-scratches on the smooth metal faces.
4. Rinse and Complete Dry
Rinse the hardware under clean, warm water to remove all soap residue. Immediately hand-dry every piece thoroughly with a clean microfiber cloth. Leaving metal to air-dry invites water spots, streaks, and eventual rust.

Material Differences & Specific Care Protocols
Once the initial soak is done, your next steps depend on what your hardware is made of, so you can choose the right kitchen cabinet handles for both functionality and your design theme. Different metals react poorly to the wrong cleaning agents. Common materials include brass, stainless steel, copper, and antique finishes, each with different durability and aesthetic qualities.
Cabinet handles also come in classic, modern, and designer options, and the style you select can shape the overall ambiance and kitchen style.
Stainless Steel & Chrome
Stainless steel and chrome are highly durable, and metallic kitchen handles such as brass and nickel are also valued for standing up to daily use in busy kitchens and bathrooms, but they show finger oils, smudge marks, and water spots instantly.
-
The Care Protocol: When scrubbing or wiping, always follow the natural grain of the metal. If a stubborn sticky layer remains after your soapy soak, wipe the area with a diluted 1:1 mixture of white vinegar and water, then rinse immediately to help preserve the finish and longevity of the handle surface during daily use.
-
The Secret Brilliance: Once the handle is completely dry, buff a single drop of mineral oil or olive oil into the surface with a cloth. This restores a rich shine and creates a microscopic barrier that repels future fingerprints.

Unlacquered Brass vs. Lacquered Brass
It is vital to know which type of brass you own, as treating them the same way can ruin their appearance.
-
Unlacquered (Raw) Brass: This metal has no protective coating and develops a natural, dark patina over time. If you prefer a bright, polished look, mix equal parts flour, salt, and white vinegar into a paste. Rub it onto the grease and tarnish, let it sit for five minutes, then rinse and dry.
-
Lacquered (Coated) Brass: This brass has a shiny, clear chemical topcoat that seals the metal. Never use vinegar, acids, or commercial metal polishes on lacquered handles. These solutions break down the lacquer layer, leading to uneven tarnish spots and permanent peeling. Stick strictly to warm water and dish soap.
Matte Black & Oil-Rubbed Bronze
Matte black and oil-rubbed bronze rely on sensitive powder coatings or chemical darkening processes to achieve their modern look.
-
The Care Protocol: These finishes react poorly to acids and harsh chemicals. Using vinegar or heavy cleaners will bleach the surface, leaving your sleek black handles looking cloudy, chalky, or grey. Use nothing but your trusted dish soap, warm water, and a soft microfiber cloth.
Copper & Pewter
Copper and pewter are incredibly soft metals that scratch under minimal pressure.
-
The Care Protocol: Skip the toothbrush entirely for these materials to avoid micro-scratching the surface. For stubborn grease build-up, mix baking soda with a tiny bit of water to form a soft paste. Use the pads of your fingers to gently rub the paste over the sticky areas, then rinse and dry thoroughly.
How to Handle Knurled or Engraved Pulls
Modern industrial-style handles with "knurled" cross-hatched textures look excellent, but they are notorious grease traps. The tight diamond patterns catch airborne oils and pack them down into tiny, hard-to-reach ridges.
To clean them effectively, let them soak in your soapy water a bit longer to loosen the packed grime. After brushing with your soft toothbrush, take a wooden toothpick and gently trace the cross-hatched lines. The toothpick will easily lift out the remaining columns of compacted grease and dust without scratching the metal finish underneath.

Keeping Handles Grease-Free
You can avoid the need for deep soaking entirely with a little bit of routine maintenance.
-
The Weekly Wipe: Add your cabinet handles to your weekly kitchen cleanup routine. Wiping them down once a week with a damp, soapy microfiber cloth takes seconds and stops grease from building up into a thick, sticky layer.
-
Use Your Range Hood: Always turn on your kitchen exhaust hood whenever you cook with oils or fry food. Capturing airborne grease at the stove prevents it from settling on your hardware in the first place.
Conclusion
Cleaning your kitchen hardware removes unwanted stickiness and instantly brightens up your entire space. By identifying your hardware material and using the right, gentle approach, you can keep your kitchen details looking brand new for years.